double_sun_shield_for_thermometer
Table of Contents
3D print Double sun shield for thermometer DS18B20
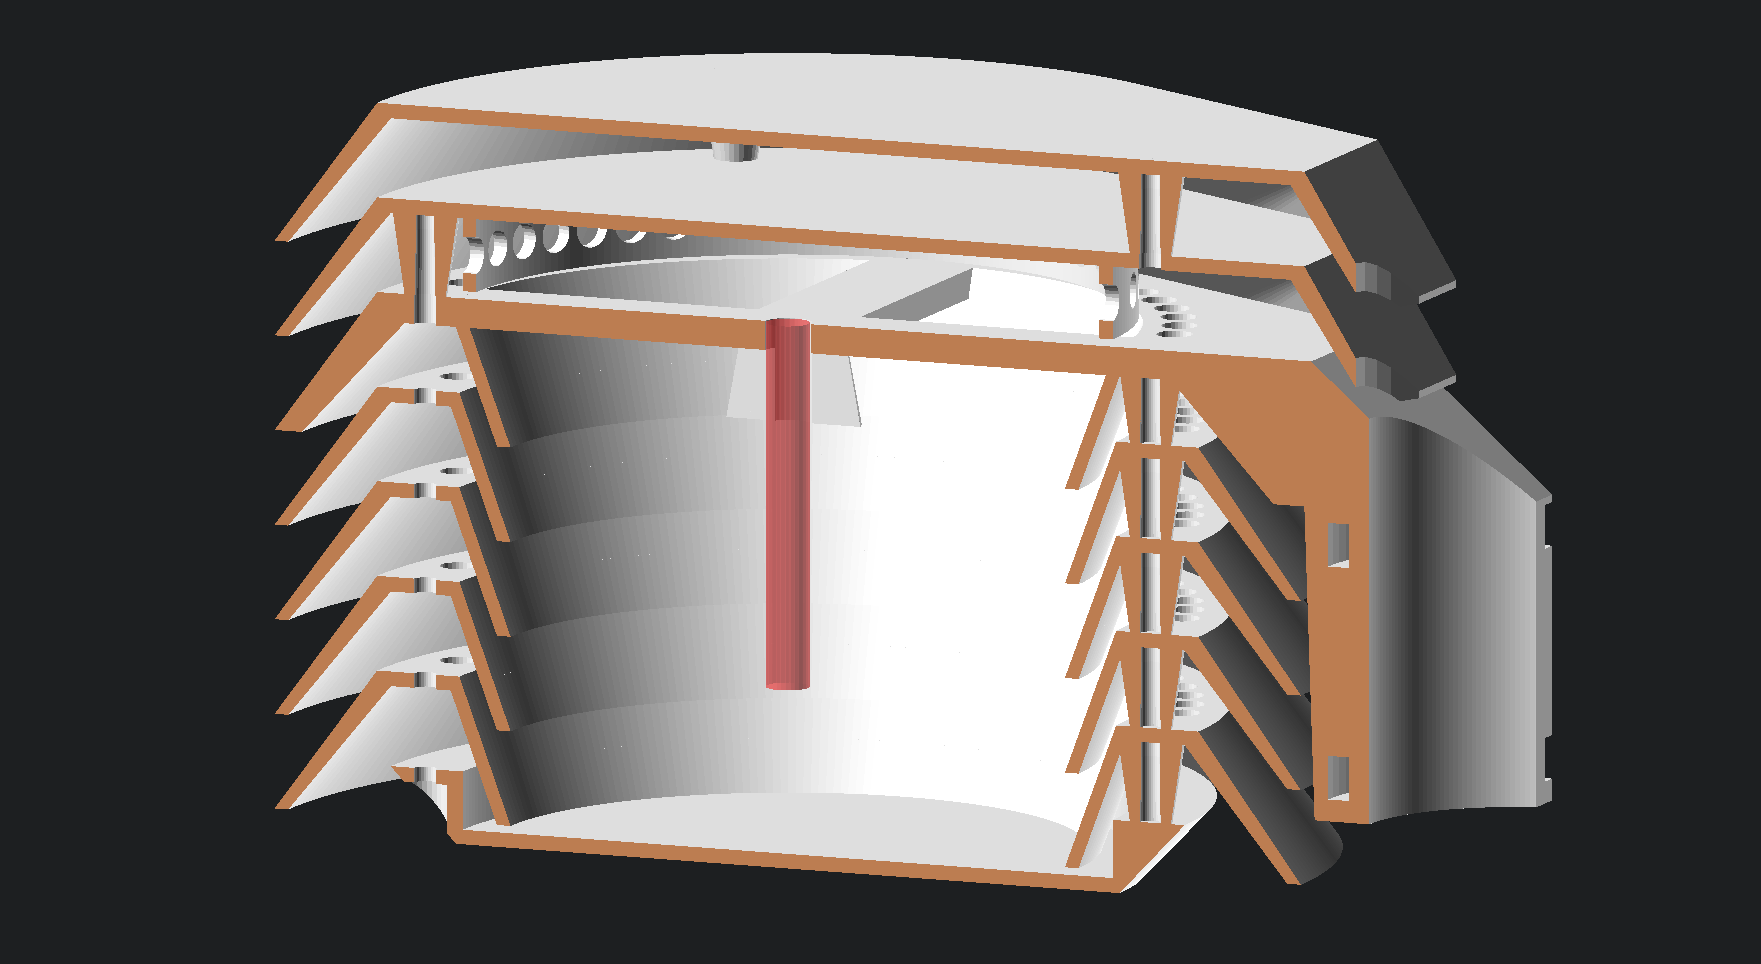 3D printed shield, against overheating of the thermometer in direct sunlight.
The doubling of the shield makes it possible to better shield the salve heat from the heated outer shield.
Source files on GitHub
Printables mirror
- I include the source file sun-shield.scad in OpenScad
- exported .STL files for individual parts (preset for mounting rods with a diameter of 42 mm)
- preset .3mf files
BOM
You can use 3D printing to order, for example at mirex3d.cz - don't forget to specify the diameter of the mounting pipe.
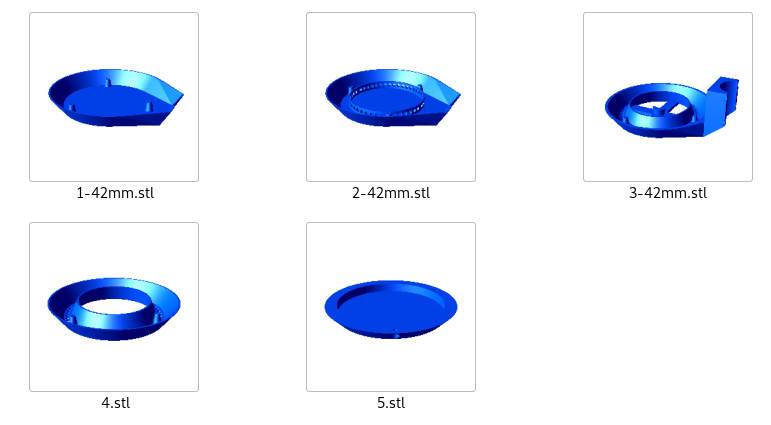 | Printed parts 450g white PETG filament Part number 4 is printed four times | 8 pieces |
 | M3 x 10mm, allen head, stainless steel | 21 pieces |
 | Thermometer DS18B20 with a minimum meter long supply wire | 1 pieces |
 | Plastic binding belt, about 30 cm long | 5 pieces |
Tools
 | Allen key 2,5mm |
| Soldering station |
How to change the diameter of the mounting pipe
- First step measure mouting pipe diameter
- Open source code in OpenScad and change line
MOUNTDIA = 42;
- Change the parameter gradually from 1 to 3
Part = 1;
then press F6 and F7 for .STL export this part. Other parts not depend to mounting pipe diameter.
- After complete all STL parts you can start 3D printing with WHITE PETG filament. Sun-shield part nr 4 you print four times.
Assembly manual, step by step
- Take part number one, half part number two on it and screw three M3 screws.
ATTENTION, keep in mind that you are working in plastic and you cannot use great force for tightening.

- Attach the thermistor to the center of the 3D printed part number 3 with the binding tape

- Thread the thermistor cable through the eye in the 3d printed part number 2, as in the picture.

- Screw parts two and three together using three M3 screws so that the cable exits through the gap as shown in the picture.

- Attach the cable to part 3 with a cable tie

- Screw together all four 3d printed parts number 4, using twelve M3 screws

- Finally, close by screwing the 3D printed part number 5

- Attach the assembled shield to the mounting pipe using two plastic binding strips


Connected to a 3D print weather station
3D print WX station Wiki
- Unscrew the brass nut, remove the grille and unscrew the second brass nut below it.

- Remove the printed part number 2 from the weather station and pass the cable from the thermistor through the grille and the removed part. Putting on the grid during stretching will make it easier for you to orientate it. Pay attention to the direction of the cable, soldered ends inwards/upwards.

- Solder the end of the cable to the PCB as shown in the picture

- Put the plastic parts back on the weather station and screw with the brass nut.

- Put the grill back on, screw it with a brass nut and fasten the free cable to the threaded rod with a plastic tie.


double_sun_shield_for_thermometer.txt · Last modified: by ok1hra